
Schedule Plugin
Setup
You need to do the following steps to complete the plugin setup:
- Install the plugin
- Enter your Twitch Channel Name and Twitch Application credentials in the plugin options
Install the plugin
To install the plugin you can either:
Manual Install
You can install the plugin by using the .zip file included in the plugin package:
- Go to the Plugins page in your WordPress site backend.
- Click on Add New at the top left.
- Click on Upload Plugin at the top left.
- Click on Choose File and select the .zip file included in the plugin package.
- Click on Install Now.
- When the installation finishes, Activate the plugin.
Configure plugin
You need to enter the following information:
You can change plugin options via the WordPress Customizer, which you can access from:
- Your WordPress site backend, by clicking on Appearance – Customize.
or
- Your WordPress site frontend, by clicking Customize in the top bar.
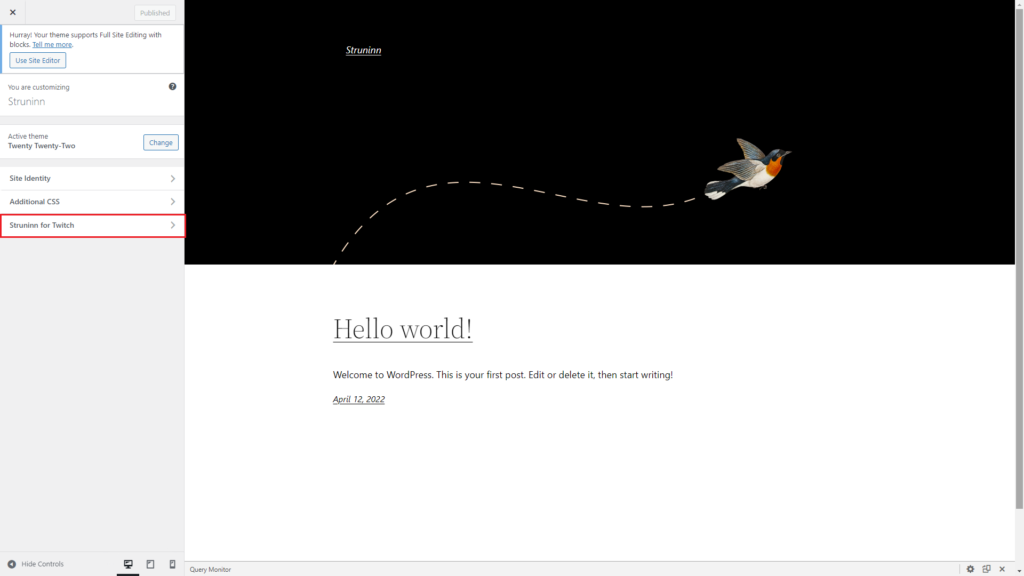
Once you open the Customizer, find the Struninn for Twitch menu, click it to access plugin options.
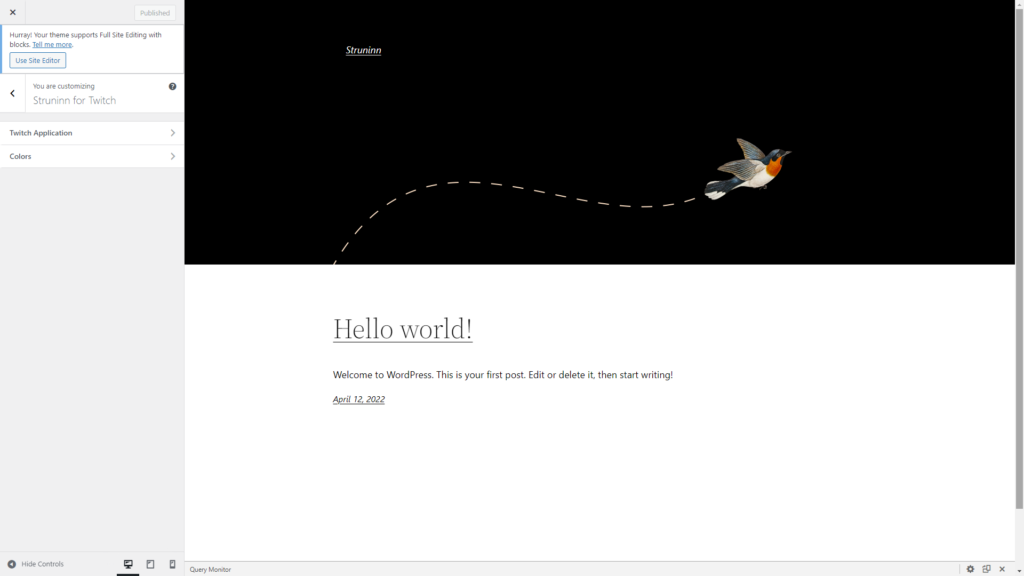
Twitch Channel Name
Open the Twitch Application menu and enter your channel name under Twitch – Channel Name.
Twitch Application Credentials
You need to have registered a Twitch Application in order to get these credentials.
Open the Twitch Application menu and enter your client id under Twitch Application – Client ID and your client secret under Twitch Application – Client Secret.
That’s it!, you can now use the plugin widgets, please check this page for details on how to display them.