Menu
Menu Locations
We created 4 menu locations for this theme:
Configuring your Screen Options
Before you start creating your menus, you need to make sure that you have activated all related Screen Options to be able to take full advantange of the customization available for them (e.g. adding icons to the side menu items).
Follow these steps to make all relevant options available in the menu creation screen:
- Go to your WordPress admin panel.
- Go to Appearance -> Menus.
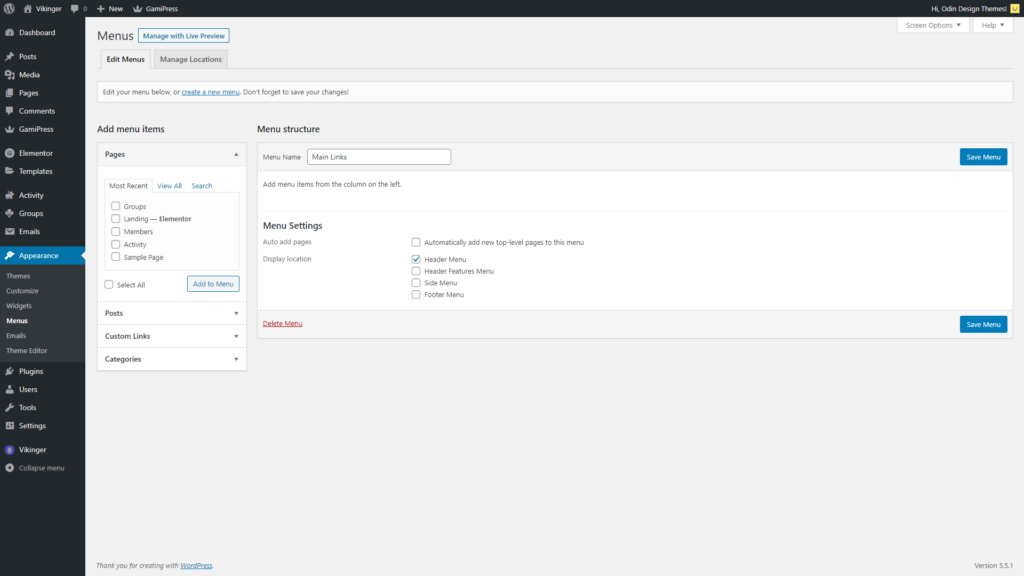
- Click on Screen Options at the top right of the screen.
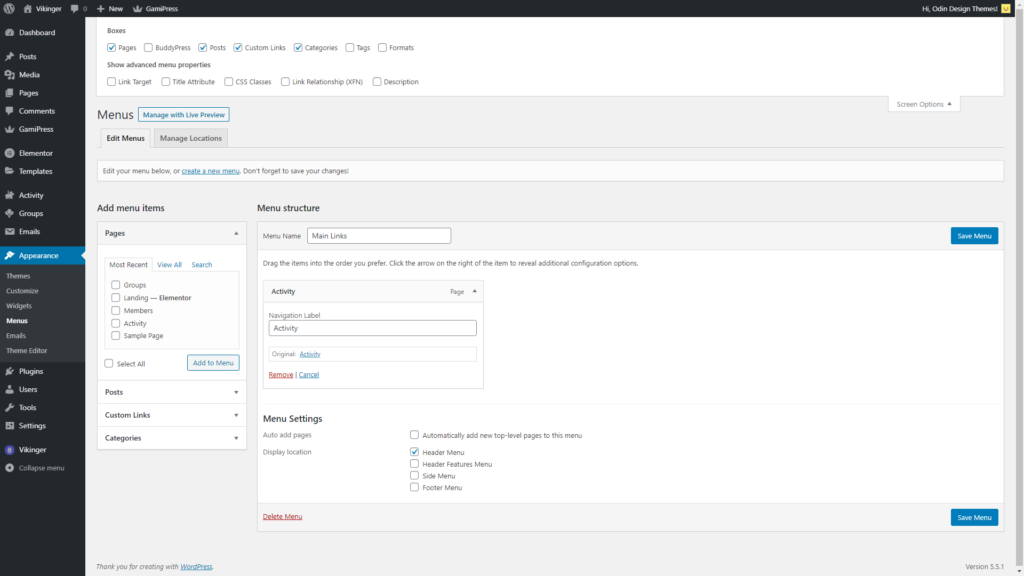
- Activate the options BuddyPress, Title Attribute and CSS Classes.
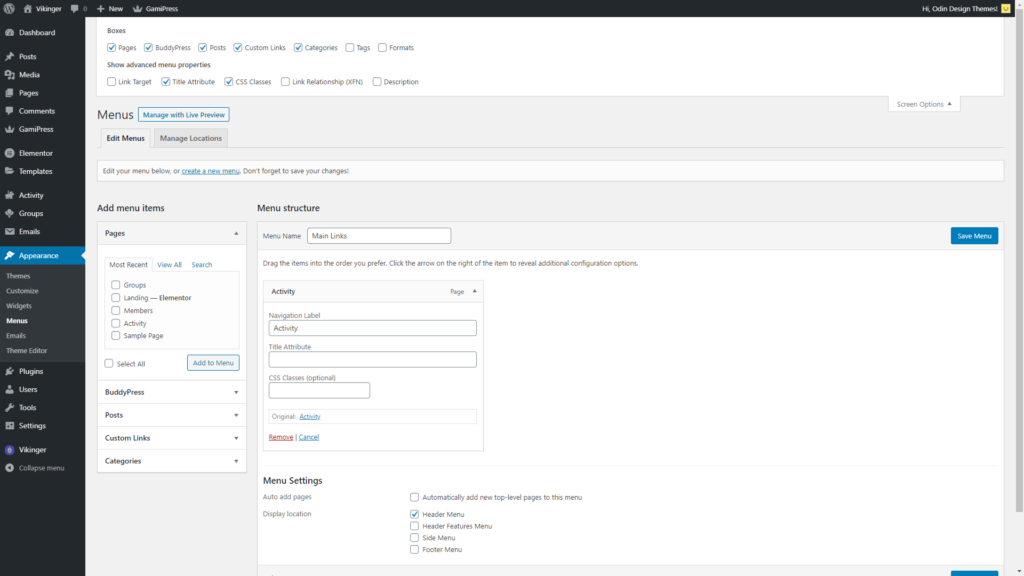
- Now, you can use the Title Attribute and CSS Classes properties on each menu item, and the BuddyPress option will display available links in a dropdown under the Add menu items option.
Header Menu
Menu items in this location display on the header of the site. The first menu item of this menu shows first in the header, while the rest of the menu items are hidden inside a dropdown that can be shown by hovering over a three dots icon (…).
Header Features Menu
Menu items in this location display on the header of the site. This location creates a menu item on the header that has the same name as the one assigned to the menu (Menu Name). This menu item hides a big dropdown that displays all the menu items assigned to this menu. All menu items can be grouped under a named title by using the Title Attribute parameter.
Side Menu
Menu items in this location display on the left side menu bar. All menu items can be assigned icons by using the CSS Classes parameter. Available icons to use for the menu items are listed in the Menu Icons section of this documentation.
Footer Menu
Menu items in this location display on the footer of the site. All menu items can be grouped under a named title by using the Title Attribute parameter.